Add Videos to a GitHub Repo Readme
Janne Kemppainen |When you create something cool and interactive what better way is there to demonstrate it than through video?
Earlier had to create GIF animations and store them inside the repository, or in another repository. This was a bit wasteful as GIF is an exceptionally inefficient movie format, and storing those files in the repository just adds unneeded weight that people need to checkout.
For some time now GitHub has supported added media in comments, issues and Markdown files. You can add a short movie to the Readme file by editing it on the GitHub web page and then dragging & dropping the video file in the text editor.
This will upload the video to the GitHub servers and automatically add the URL to the file. You just need to move the link where you want the player to appear. The following example is from my actions-workflow repository:
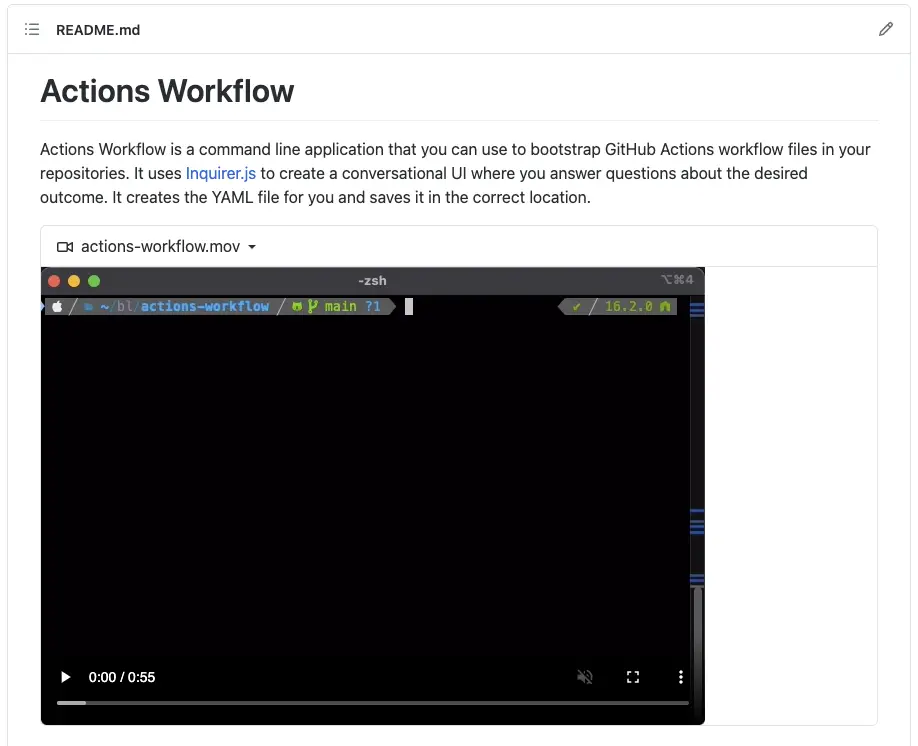
The end result is an embedded player. The difference to a GIF animation is that the video doesn’t start playing automatically, and it has the player controls. If you like prefer the autoplay look without the video player then I guess you need to go with the old GIF way.
How to create a screen recording on macOS?
Creating these screen recordings on a Mac is quite simple, and you don’t even need to install any third-party software.
Open QuickTime Player, then from the program menu choose File -> New screen recording, or use the Shift+Cmd+5 shortcut to open the recording overlay directly. Then choose either Record entire screen or Record selected portion to choose the area that you want to record and click the Record button.
By default the file will be saved on your desktop but you can change this from the options menu if you want. There you can also include audio in the recording if needed.
You don’t need to worry about executing your demo perfectly since it is easy to trim the video down after recording. Open your recording with QuickTime and choose View -> Show Clips. Now you can scrub back and forward and cut away any unneeded parts. You can use Cmd+Y to split the video to two or more clips and then choose and delete the clips that you want to get rid of.
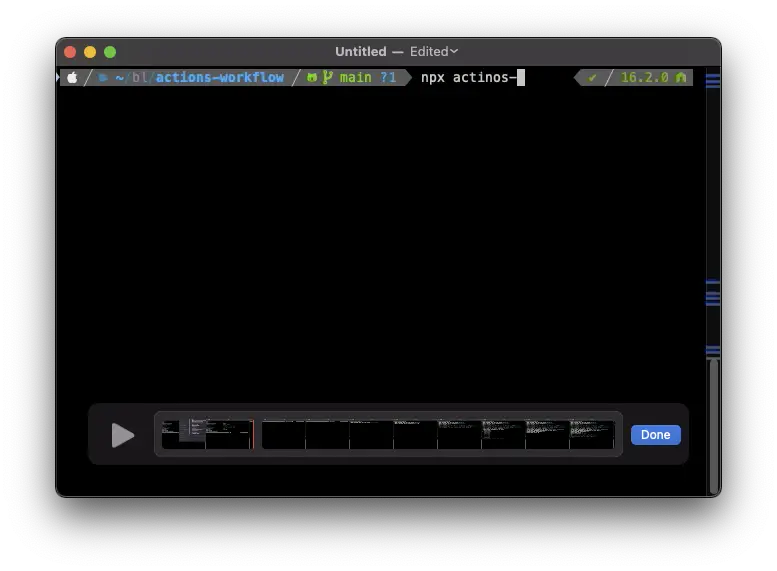
Save the edited file and upload it to GitHub.
Previous post
Configure Nextcloud Behind a Cloudflare Tunnel