Reviewing Typora, My New Favorite Markdown Editor
Janne Kemppainen |The title might already give away my opinion on Typora so let me start by saying it again. Typora is my favorite Markdown editor, period. With that out of the way let’s continue on with the why.
I want to start with a little bit of background. I’ve built this website with a static site generator called Hugo which basically eats content files as Markdown and spits out a bunch of HTML files that can easily be hosted on the Internet. I’ve actually written a whole series of blog posts on starting a blog with Hugo, check out my latest tutorial if you’re interested in learning more about starting a static blog.
So, because of my chosen blogging technology I’m spending quite some time writing content in Markdown. Therefore it’s quite important for my sanity to make the process as painless as possible. Markdown is not so difficult to read on its own but still reading and editing properly formatted text à la Microsoft Word is just that much more satisfying.
So what does Typora exactly do then that pleases my eye so much? It is an inline WYSIWYG editor for Markdown that renders the content as I’m typing it. If I add a new heading with a bunch of # characters it will actually look like a heading. Similarly having italic or bold text just shows the final result without displaying the asterisks.
Right now the software is in free beta which means that you can use it for free. There is no information on when the beta phase will end though so be prepared to pay sometime in the future. Personally, I’d be happy to support the development if they end up going with a one time payment model instead of a subscription.
Update 2022/07/11: Typora is now paid software and costs $14.99 without tax. It’s still the only Markdown editor that works with my blogging workflow so I was happy to pay the license cost. The open source alternative Mark Text has seen some improvements to its image handling but it still doesn’t handle relative images like Typora.
The software is available for Windows, macOS and Linux so no matter what OS you’re using there is a version for you. This is also great if you are using more than one computer with different OS’es like me.
Minimal experience
When you start the editor up it is truly minimal. There is just the writing area and nothing distracting on the window itself. If you’re working on a single file then this will allow you to fully concentrate on that single piece of text. Despite this minimalism it has pretty much all the features you need.
Assumedly you’re already familiar with with Markdown so I probably don’t need to go that deep into the syntax. I don’t honestly have a thing for mountains but I had to come up with something so here’s some example text to see how it renders on Typora.
# I like mountains
Mountains are great! [Wikipedia](https://en.wikipedia.org/wiki/Mountain) says this about mountains:
> A mountain is a large landform that rises above the surrounding land in a limited area, usually in the form of a peak.
If you want to hear more about mountains *continue reading!*
## Highlights
Mountains provide many activities:
- you can climb then
- you can photograph them
- and **much more**

This is how the file looks like in Typora:
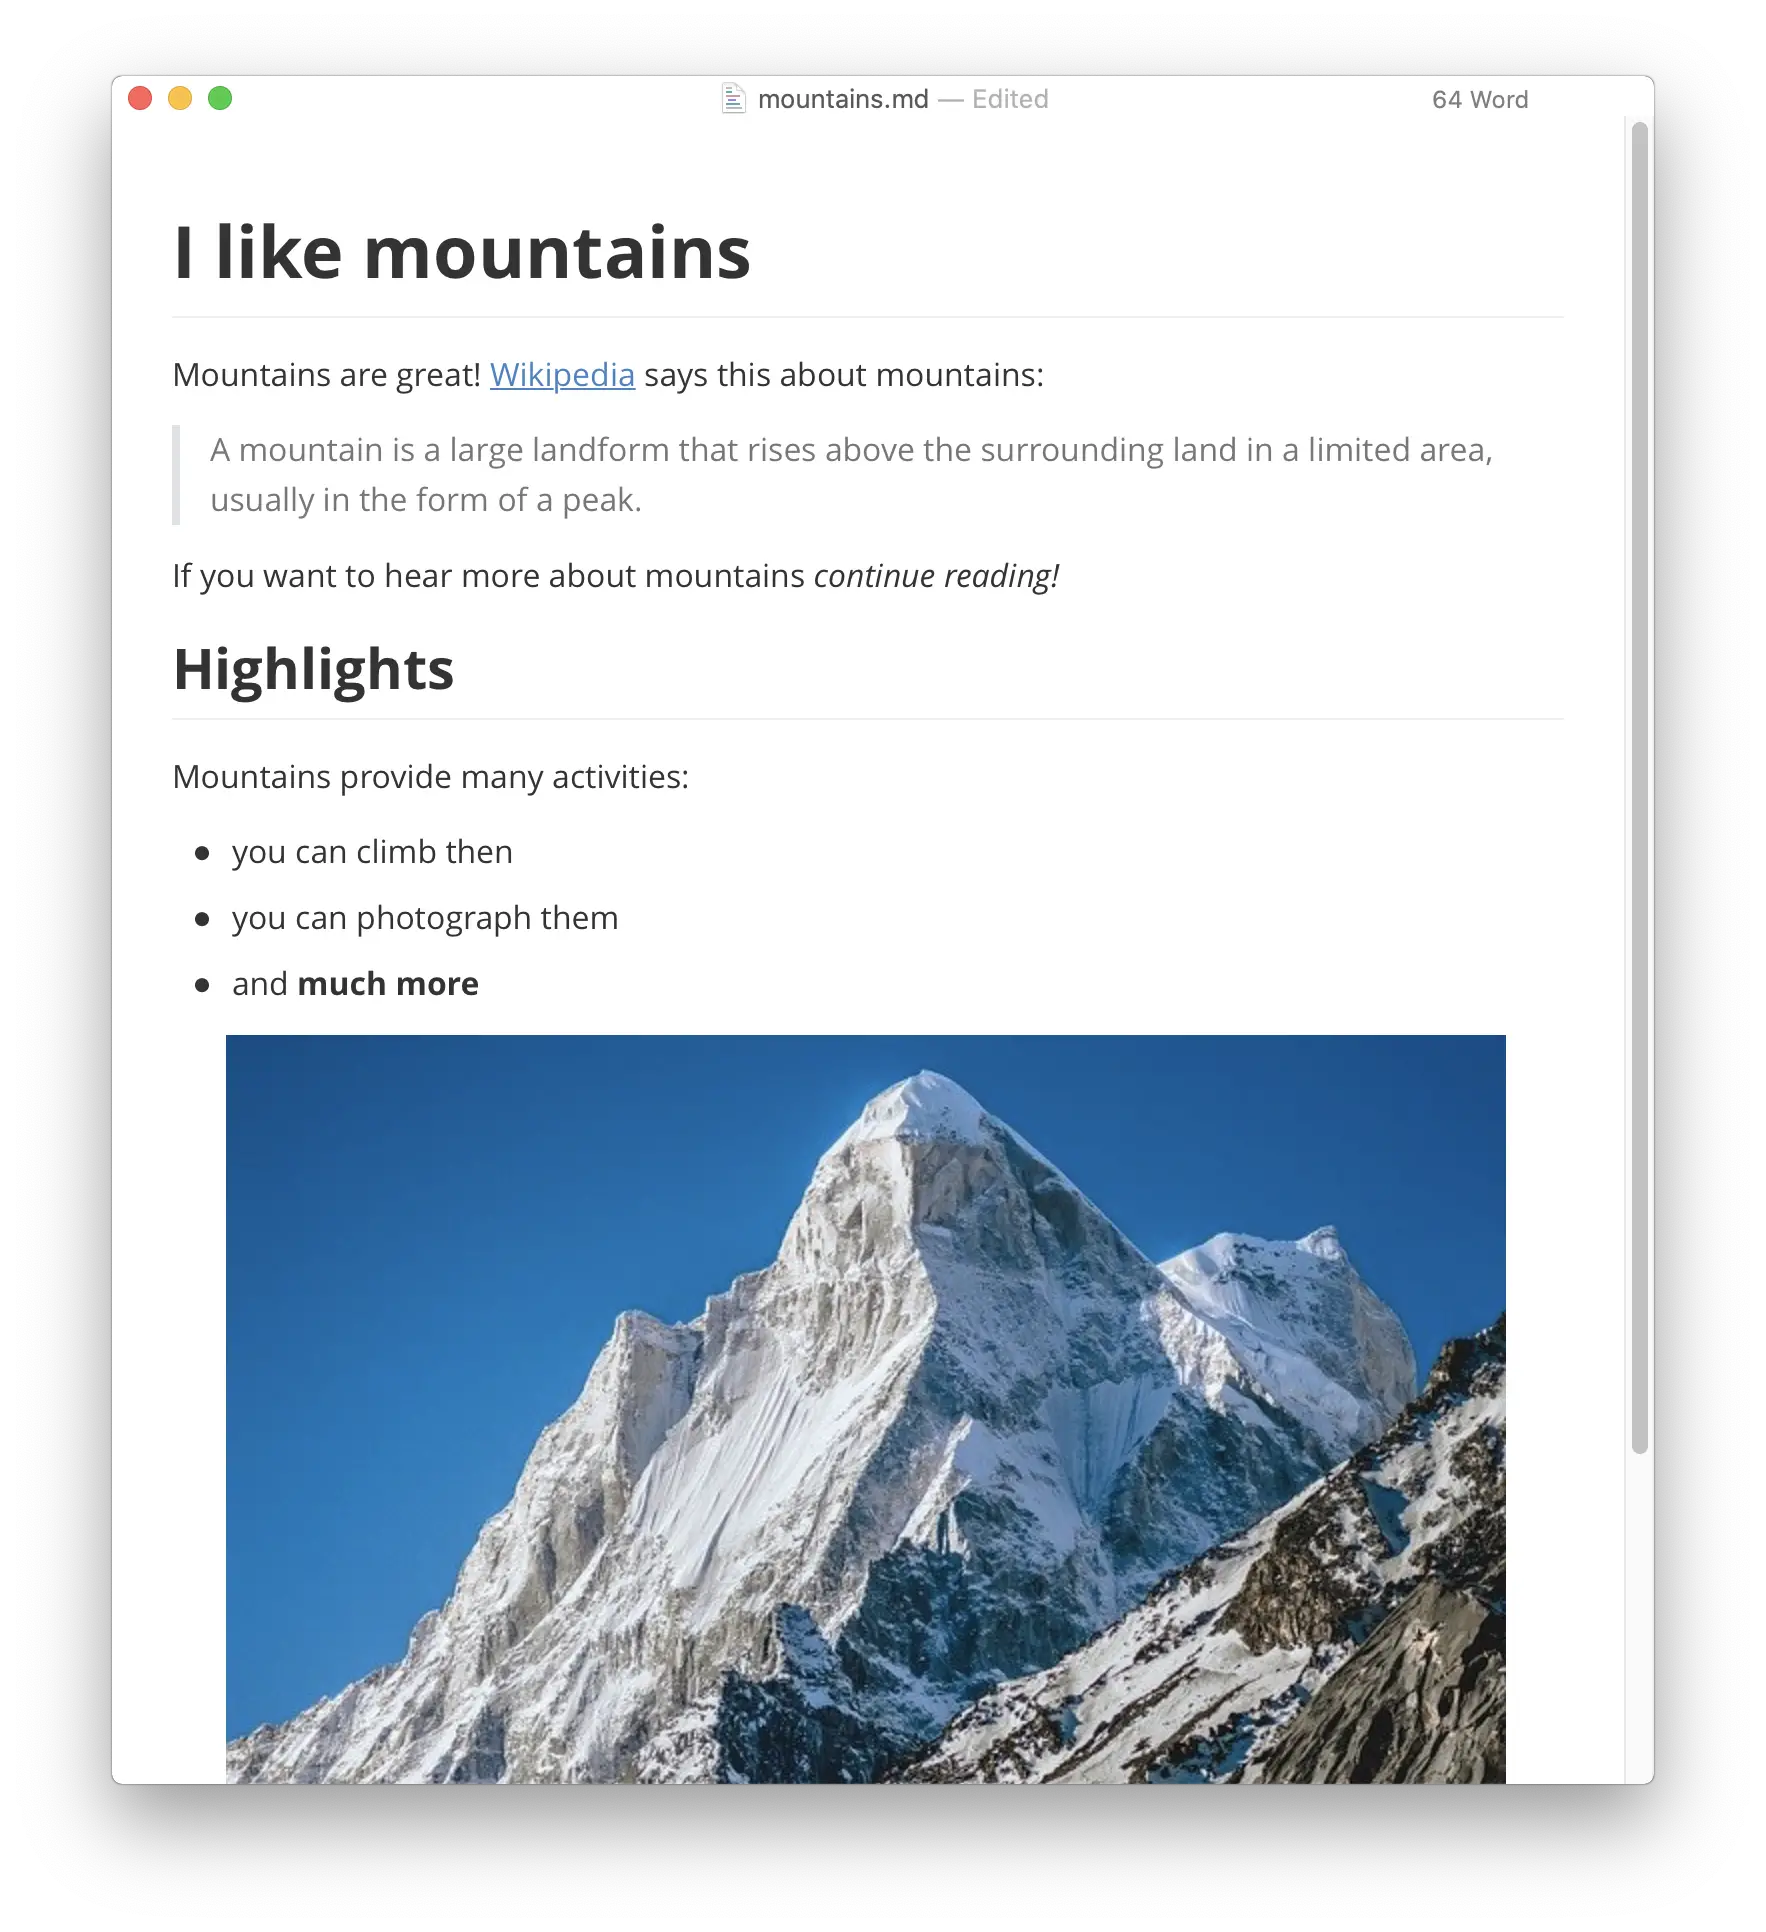
As you can see the file looks like it was rendered to HTML (which it actually is internally). Many other Markdown editors have separate editor and preview views but here you write and read on the same view. In addition to being an overall nice experience you’re also saving screen real estate for multitasking with other applications.
You can choose from different built in themes and install additional themes from the Typora themes page. You could even create your own theme. In this example I had the GitHub theme enabled.
When you place the caret near a formatted piece of text such as italicized or bold text the actual Markdown for that piece becomes visible. So you still know what’s going on but as soon as you go somewhere else that markup gets out of your way.
If you don’t remember all the Markdown syntax you can insert items and formatting easily from the top menu or by using keyboard shortcuts. For example adding code fences is snappy with “Option + Command + C” on macOS or “Ctrl + Shift + K” on Windows. And if you define the code language the editor will apply syntax highlighting to the block.
Adding links is also super quick. If you have copied a link to the clipboard you can hit “Command + K” or “Ctrl + K” and the required Markdown will be added with the URL already in place. You can also highlight a piece of text and use the shortcut to make it a link.
Support for larger projects
If you’re editing multiple files then you’re covered too as you can open a whole directory of files and see them listed on the left sidebar. You can choose to view the files as a directory tree structure much like in Visual Studio Code, or you can switch to a file list view which shows a bit more information per file.
You can also open multiple tabs like one would expect in this day and age. Except in Windows, it seems.
So if you’re writing a book or a blog you can quite easily organize the content into multiple files and even move them around in the directory tree. I keep all my drafts in one directory and when it is time to publish I can move the file to the correct location without having to open a separate file manager.
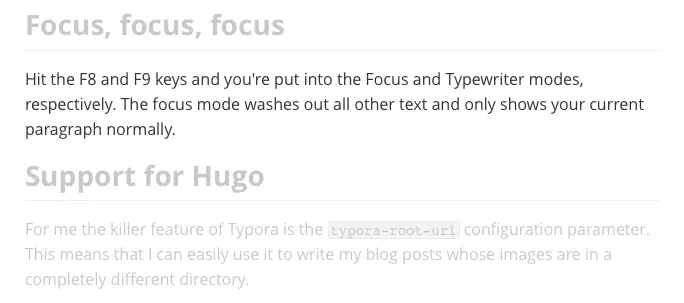
Focus, focus, focus
Hit the F8 and F9 keys and you’re put into the Focus and Typewriter modes, respectively. The focus mode washes out all other text and only shows your current paragraph normally. This can sometimes be useful if you want to be super focused on one part of the text at a time.
The typewriter mode ensures that your caret is always placed at the middle of the page vertically. This way you can always see the immediate surroundings of the piece of text you’re currently editing. It also means that if you’re moving the caret up and down with the arrow keys the page will also scroll up or down so you don’t need to move to the top or bottom edge of the view before seeing more content.
Extended Markdown
You can also extend the capabilities of Markdown with diagrams and mathematics. Typora has built-in support for the following diagram libraries:
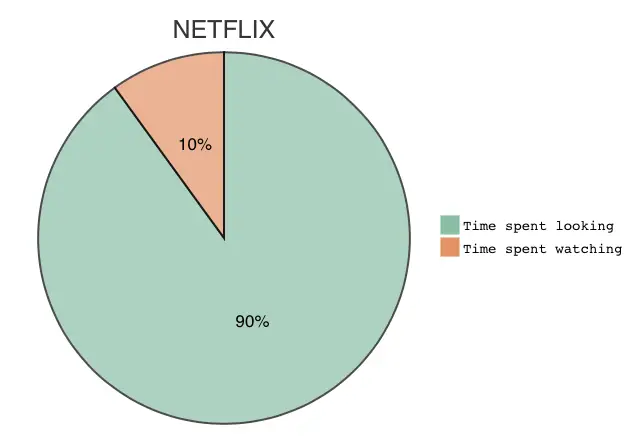
You could use Mermaid to draw pie charts, for example (taken from the Mermaid documentation):
```mermaid
pie title NETFLIX
         "Time spent looking for movie" : 90
         "Time spent watching it" : 10
```
It would look like this:
You can use the math features to render blocks of LaTeX expressions. This can be really handy if you’re making lecture notes or mathematical home assignments and don’t want to do all of it with LaTeX (or Microsoft Word 😱).
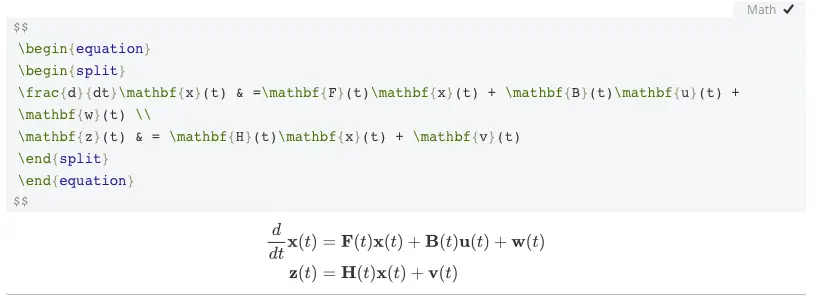
(Bonus points if you understand what this equation is.)
You can also write inline maths by first enabling it from the settings, then restarting the editor and enclosing the math expressions between dollar signs like this: $cos(\theta)$.
Support for Hugo
For me the killer feature of Typora is the typora-root-url configuration parameter. This means that I can easily use it to write my blog posts whose images are in a completely different directory.
Static site generators typically use a piece of configuration at the top of the file, usually written in the YAML format. This is called the front matter. I can add the relative path of the image root directory to the front matter of a blog post like this:
typora-root-url: ../../../static
If I then include an image in the post Typora will be able to render it properly.

This feature alone makes the whole writing process so much nicer as I can actually see my images!
However, there is one limitation when using the editor with Hugo: shortcodes are not supported. Hugo has these snippets of Go HTML templates that can be included in the content files to add complex elements to the page. For example the highlight shortcode can be used to show code snippets and the figure shortcode adds images using the HTML5 figure class.
The figure shortcode is not that bad, the image just won’t be visible and the text will just look something like this:
{{< figure src="image.jpg" title="My image" >}}
The highlight shortcode on the other hand.. Highlight is basically Hugo’s own version of code fences with some additional features. Whatever piece of program code you want to be highlighted needs to be put between starting and ending tags, and because Typora doesn’t understand the context it will try to render it as Markdown which looks more or less bad.
Luckily using code fences and the native Markdown images work well enough for me so that I don’t have to use those shortcodes. However, reading and editing my older blog posts can be a bit tiring when they contain lots of shortcodes.
Export to various formats
You can use the export functionality to convert your writing to PDF, HTML, Word document, RTF, Epub, LaTeX, etc. The first two conversions are built in to the editor but for other formats you need to have the Pandoc document converter installed.
So you could for example write your home assignments in Markdown and submit them as PDF files when you’re done.
Other Markdown editors
There seems to be so many Markdown editors to choose from and here I have listed only some of them. I haven’t tried them all so they are here only as a reference.
iA Writer
iA Writer is a commercial application for Mac, Windows, iPhone, iPad and Android. They offer a free trial so there is no risk trying them out. It seems to be nice and simplistic with a separate preview window.
Mark Text
Mark Text is a WYSIWYG Markdown editor like Typora but it is fully free and open source software. As of this writing it has 15.6k stars on GitHub so it definitely has a community behind it. The lack of the typora-root-url style image handling keeps me from really using it.
I know this problem would be solved by using the Hugo page bundles where the images are located in the same directory with the blog entry but I prefer my current workflow right now.
Markdown Editor (VS Code plugin)
Markdown Editor is a plugin for Visual Studio code which provides syntax highlighting and live preview. If you’re already using VS Code then using a plugin instead of a standalone app could be the best option for you.
Conclusion
In conclusion, I find Typora to be a very convenient Markdown editor that has certainly improved my writing experience. I’m quite sure I’ll be buying it when it gets out of beta if the price is right.
Discuss on Twitter
So am I doing this reviewing thing right? Spoiler: I like writing with @Typora so much that I decided to write up a small review. https://t.co/4GjTJfiKAU
— Janne Kemppainen (@pakstech) May 4, 2020
Previous post
Start a Blog With Hugo