Getting Started With Node-RED On a Raspberry Pi
Janne Kemppainen |Node-RED is a super useful tool that lets you create integrations between hardware devices, APIs and online services. Everything happens inside a web UI where you can add function nodes and connect them graphically to create more complicated logic. This flow based programming approach makes Node-RED more accessible to beginners and faster to prototype with.
Node-RED runs on top of Node.js and there are many community-made libraries that you can import to your project to create complex flows. And if you know JavaScript you can write custom functions to suit your needs.
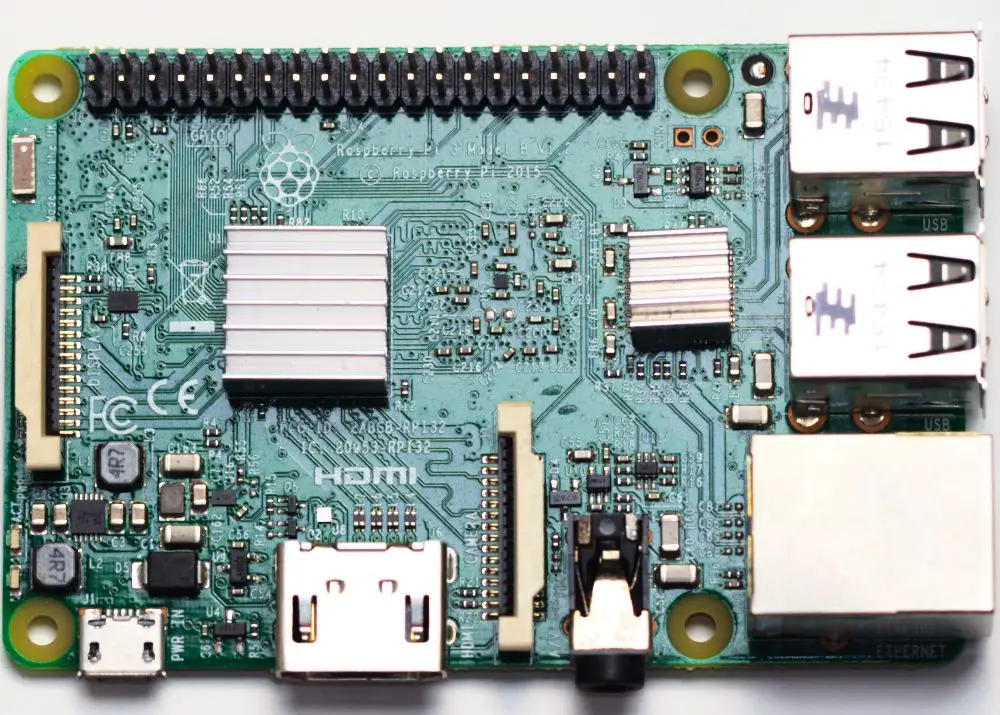
In this blog post we will go through installing Node-RED on a Raspberry Pi and the basics of creating logic flows.
Installation
To install Node-RED you need to run only one command. While piping code from the Internet to bash is generally frowned upon it should be rather safe in this case. You can always inspect the validity of script first before running it.
>> bash <(curl -sL https://raw.githubusercontent.com/node-red/raspbian-deb-package/master/resources/update-nodejs-and-nodered)The installer will ask whether you want to install the Pi specific nodes, say yes. The installation can take many minutes to finish so just wait patiently:
Running Node-RED install for user pi at /home/pi

This can take 20-30 minutes on the slower Pi versions - please wait.

  Stop Node-RED                       ✔
  Remove old version of Node-RED      ✔
  Remove old version of Node.js       ✔
  Install Node.js LTS                 ✔   Node v10.15.3   Npm 6.9.0an npm cache
  Clean npm cache                     ✔
  Install Node-RED core               ✔   0.20.5
  Move global nodes to local          -
  Install extra Pi nodes              ✔
  Npm rebuild existing nodes          -
  Add shortcut commands               ✔
  Update systemd script               ✔

Any errors will be logged to   /var/log/nodered-install.log


All done.
  You can now start Node-RED with the command  node-red-start
  or using the icon under   Menu / Programming / Node-RED
  Then point your browser to localhost:1880 or http://{your_pi_ip-address}:1880

Started  Sat 20 Apr 20:54:19 BST 2019  -  Finished  Sat 20 Apr 21:01:10 BST 2019
Ensure that Node-RED starts up with the system by enabling its service
>> sudo systemctl enable nodered.service
Created symlink /etc/systemd/system/multi-user.target.wants/nodered.service → /lib/systemd/system/nodered.service.
Node-RED is still not running so you need to start it:
>> node-red-startThe following information should be printed on the terminal.
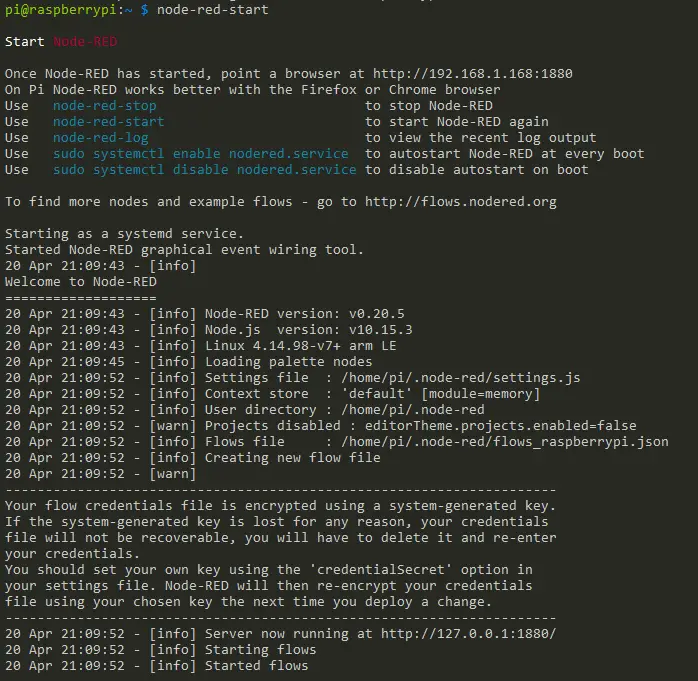
Node-RED started up
Find the IP address and port of the Node-RED instance at the top of the messages. For example on my Pi the address is http://192.168.1.168:1880. Paste the address to your browser to get to the flow editor. You can exit from the Node-RED log info with Ctrl-C.
How to use Node-RED?
Now that Node-RED has been installed it is time to learn how to use it. Basically everything is done in the browser view that is running at the port 1880 on the Raspberry Pi. The UI looks something like in the image below.
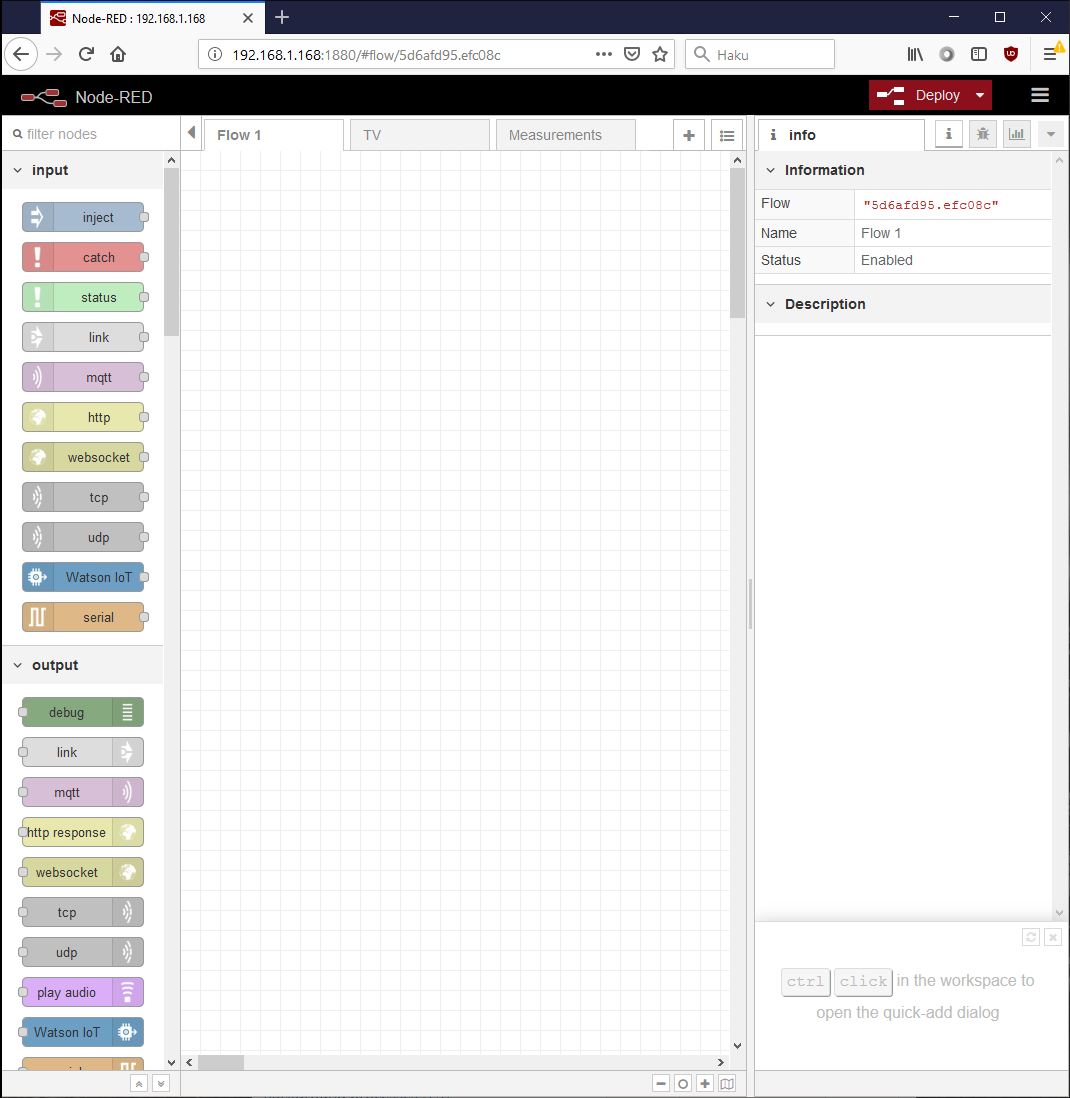
Node-RED browser UI
The view is split to a list of nodes on the left, space for flows in the middle, and various information tabs on the right.
Flows
The ‘code’ in Node-RED is organized in flows which are sort of drawing boards where you drag and drop nodes and connect them with wires. The flows hide the underlying JavaScript code and manage the communication between the node objects.
You can have multiple tabs of flows so that you can group similar functionalities together. All code is run as the same user, though, so you can’t have separate user profiles.
The building blocks (nodes)
Nodes are the basic elements that are used to create flows in Node-RED. There are quite many nodes installed by default but there are many more available through the palette manager. Community nodes can support different services such as weather forecasts, databases, instant messaging, and so on.
After you have dragged a node to the flow area you can configure its parameters by double clicking it. Each node type specifies the required properties, and they also contain helpful information which helps you with the proper usage of the node.
Messaging between nodes
Nodes can have zero or more inputs and outputs. Inputs are located on the left side and outputs are on the right. An output of a node can be connected to an input of another node (or even the same one) to transfer messages and to create a higher level of logic.
Creating these connections is easy as you just need to click at the desired output of a node and then click an input on another node. The same output or input can be connected to multiple nodes simultaneously.
The communication between the nodes is based on messaging. When an event happens at an input node, such as the MQTT client, it creates a message that is sent to all nodes that are connected its output. These nodes in turn handle and transform the message as they see fit and may propagate forward to other nodes until the logic has done its thing.
The messaging in Node-RED is therefore event driven.
Typically the message contains a payload element that can be accessed in other nodes with msg.payload. But this isn’t required so nodes can forward data in other ways too and often the messages contain multiple fields. The common thing between different nodes is that they communicate through the msg object.
After the nodes have been placed and connected together you can click the red Deploy button on the top right corner to save the changes and start running the new code.
Debugging
You can route messages to a specific output node called debug which prints the received message or a part of it to the debug tab on the right side of the view. This is really helpful for finding errors in your logic as you can see exactly what the nodes receive and when.
Proper use of debug nodes will save you from a lot of headache so when in doubt just plop the in there and see what actually happens! If the logs become too verbose you can disable degub nodes with the small green enable switch next to them. Alternatively, you can also filter the debug log by node or topic.
Finding new nodes
There is a large library of community-made nodes available, and they are really easy to install. Start by clicking the hamburger icon at the top right corner and select Manage palette from the menu.
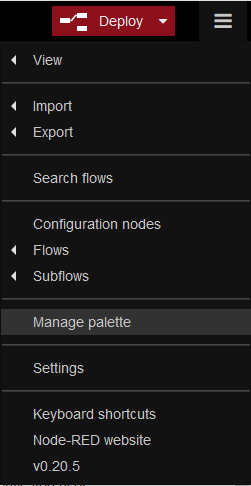
Select Manage platte to install or remove nodes
You can browse the available nodes and flows from the Node-RED Library.
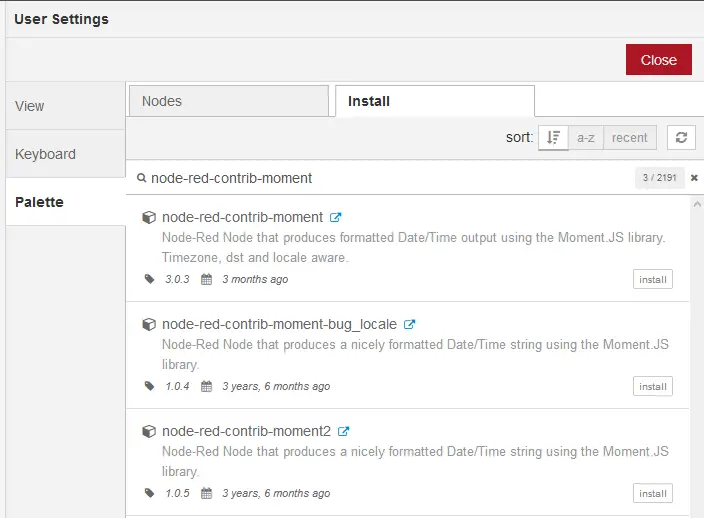
Search for nodes and click the install button for installation
In the “Install” tab you can search for node packages and load them to your system with the install button on the right. You’ll need to confirm the installation and wait a while for Node-RED to handle everything ready for you.
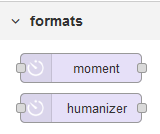
Node-RED Moment library nodes installed
Close the palette view and you should see that the new nodes have been installed and can be added to your project from the list of nodes on the left.
The image above contains nodes from the node-red-contrib-moment module which wraps the Moment.js JavaScript library. These can be used to nicely format date and time objects as well as convert time periods (in seconds) to a more human form such as “123” to “2 minutes”.
Spend some time to find new nodes that might be useful to your use cases or that inspire you to create something cool.
Examples
So what can you do with Node-RED? I will add links to my Node-RED projects below as I write new blog entries. Hopefully they’ll give you some new ideas and isnpiration.
Time Manipulation in Node-RED with Moment
Moment.js is a popular JavaScript library for parsing, validating, manipulating and displaying dates. The node-red-contrib-moment package is an adaptation of the library to Node-RED. In this post I’ll share some examples that should jumpstart your journey with Moment.js.
Control a Samsung TV with Node-RED
Node-RED is such a versatile thing. Did you know that it can be even used to control a TV! Wouldn’t it be nice to be able to restrict viewing time or force the TV to shut down on school nights? In theory you could even create your own remote controller.
In this post I’ll show some examples that could inspire you to create your own flows. Even though the control nodes I am using are specific to Samsung TV’s you should be able to adapt these designs to other manufacturer’s models too.
Even if you don’t really want to manage your TV programmatically you should still learn how to actually create some (potentially) useful logic with Node-RED.
Conclusion
Now you should be all ready to start creating your own flows. Check out my Node-RED project ideas (listed above), get inspired and share your creations here in the comments or on Twitter!
Previous post
Introduction To Cloudflare WorkersNext post
Control a Samsung TV with Node-RED