The

Blog With Hugo

series

When I decided that I wanted to start a blog I tried out lots of different options and spent quite a lot of time learning WordPress and trying out different themes. But somehow I felt that I couldn’t achieve what I wanted with the free themes and I also didn’t want to worry about hosting costs if nobody wants to read my blog. That is when I found Hugo.

In this blog series I will tell you how to start your own blog using the static site generator Hugo.

The great thing about static websites is that because the pages are prebuilt there is no need for an active server but the files can be shared as is to the site visitors. This means that hosting is really affordable and you can get really far without spending a dime with services like Netlify. The only thing that you need to pay for from the get go is the domain name, and that is only a few bucks a year.

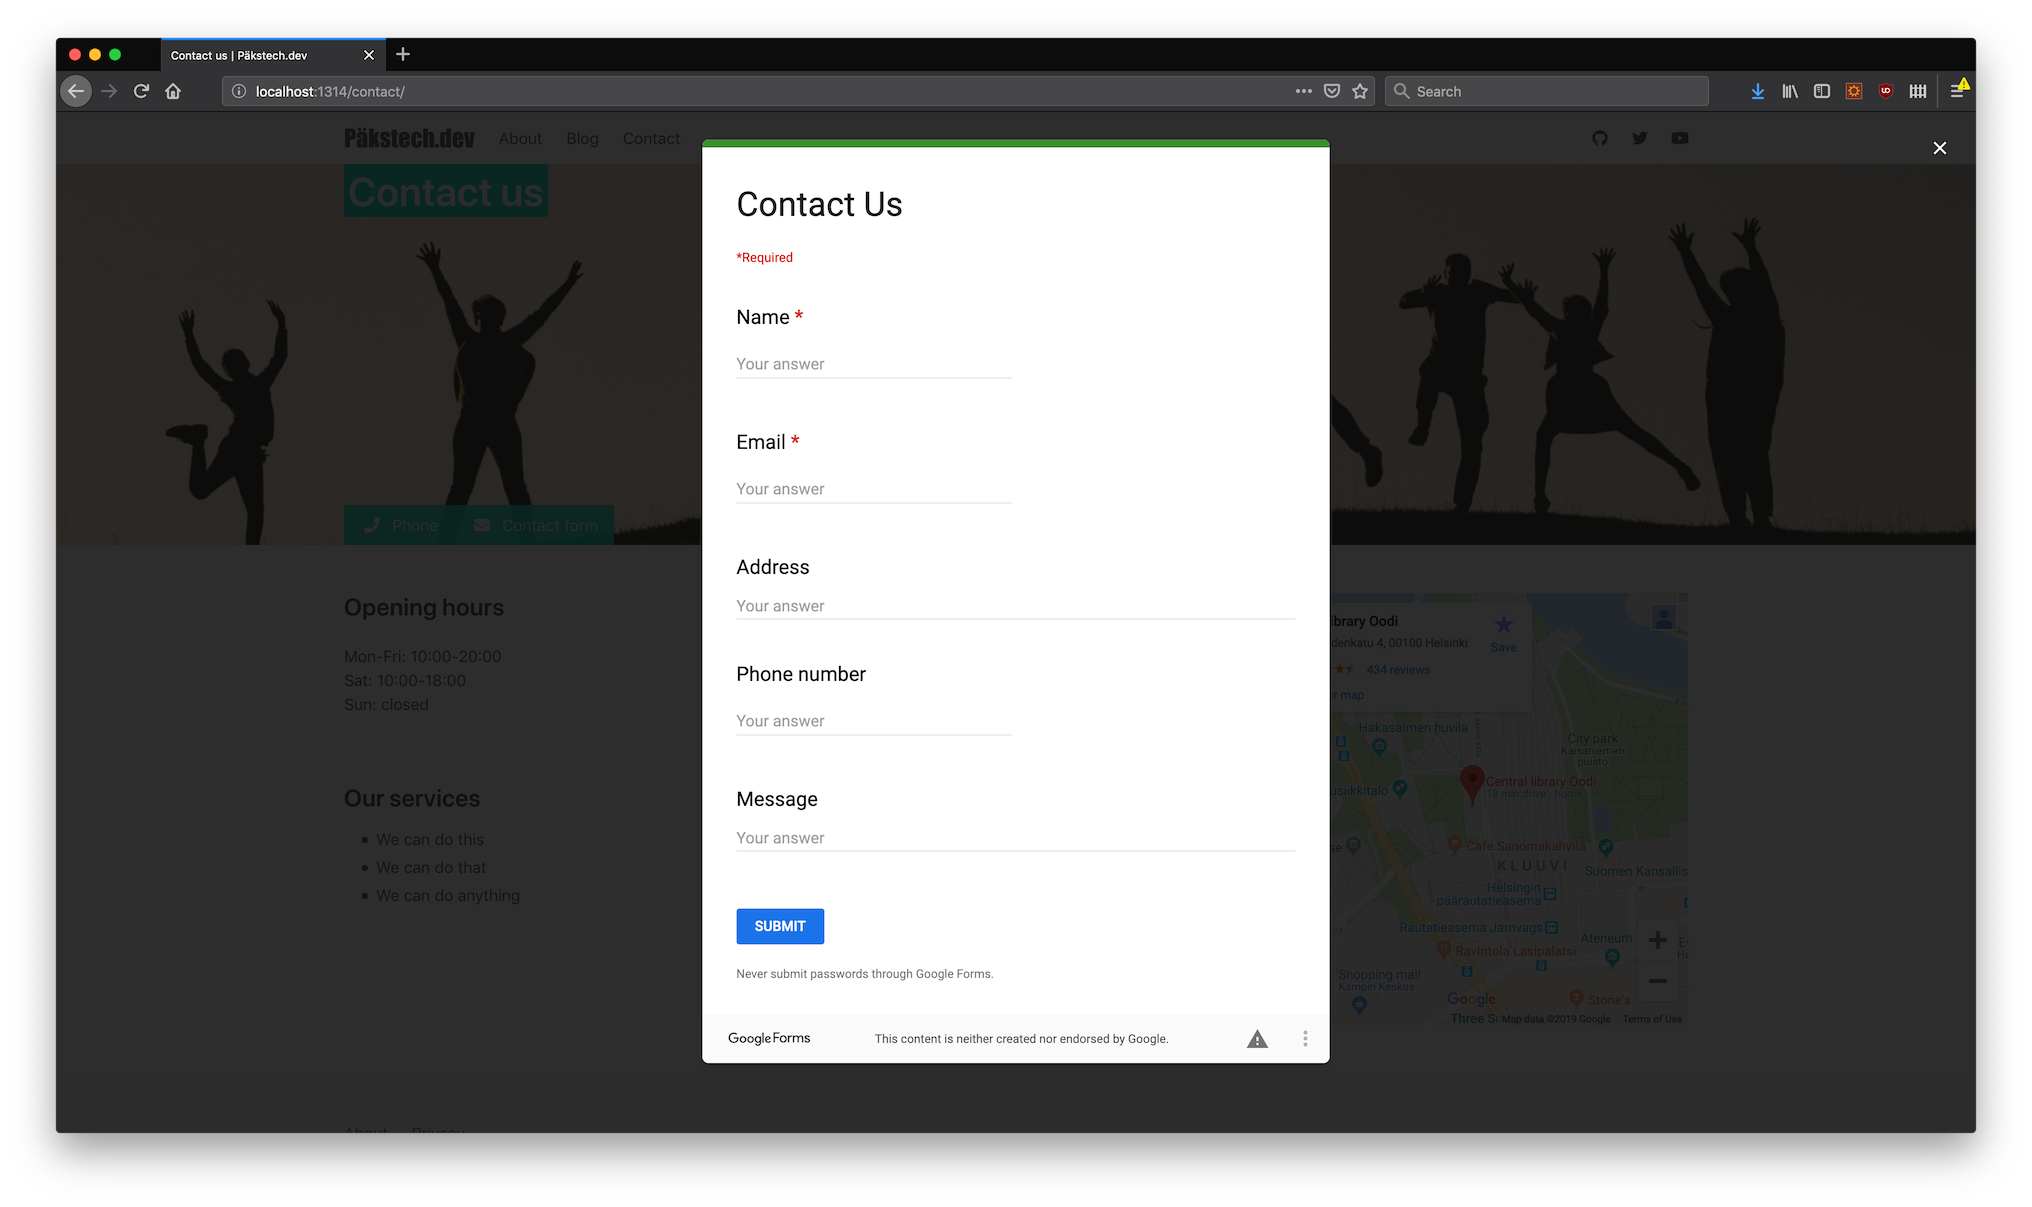
I guess it’s needless to say that I have built my blog with Hugo and Netlify. In this series I want to share my experiences of building a website from scratch with only little knowledge of web development.

Prerequisites

Some things that are good to know beforehand:

I hope you have at least a basic understanding of HTML and CSS if you want to create a blog starting from zero.

It is also recommended that you keep your code inside a Git repository so that you can recover back to a working state if you manage to mess things up too badly. At a later stage you will need to use Git anyway for the site publishing pipeline. If this scares you too much then don’t worry, when the site has been deployed you can set up Netlify CMS to handle everything automatically. Then you or your not so technically oriented writers can write the posts with a web UI.

What you will learn

I have to admit that this won’t be super easy and it will require some effort to get good results. But if you are willing to put in the required work you’ll be able to create a blog that you can really call your own. Here are some things that we will go through in the series:

  • Installing Hugo
  • Adding a theme
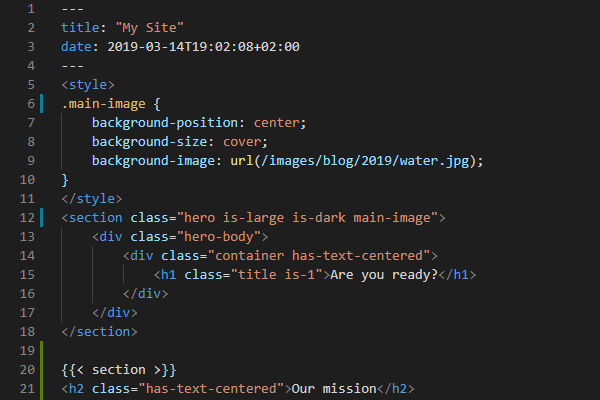
  • Creating your own theme
  • Hugo templates
  • Creating content with Markdown
  • Getting a domain and publishing the site

In addition to this you’ll learn a lot more about Hugo internals so even if you don’t want to create a theme starting from zero you will have the tools and understanding to modify existing themes to suit your needs.

Get started by checking out the posts below!

Why You Should Blog with Hugo?

An Introduction to the 'Blog with Hugo' series

Janne Kemppainen |

I wanted to have a blog where I could share my thoughts and ideas. Naturally I quickly discovered WordPress and started fiddling around with it. In this series I’ll tell you why I chose to go with a static site generator called Hugo instead and how you can do it too. The idea of this series is to help you learn while doing.

If you want to go the static web page route with Hugo you have basically two choices, either use a ready theme or create your own. I decided to go with the homebrewn option because I felt that the ready themes didn’t match with how I envisioned the site should look.

In this series I am going to show you how to start a theme from scratch. But if you want to go with a ready theme I still recommend that you read through these pages as they’ll help you understand how Hugo works and hopefully help you customize your site.

I want you to have the resource that I would’ve needed when starting out.

Getting Started with Hugo Janne Kemppainen |

In the last post of the series we touched the surface and learned what Hugo is. This time we will dive deeper and actually create our first example site with a ready theme.

Let's Create a New Hugo Theme Janne Kemppainen |

Now that we know how the basics of Hugo it’s time to take a step further and start building our own theme. This post will lay the foundations for our theme so it won’t look like much in the beginning but it will be something that we can build on. We have lots of content to cover so let’s get going!

Create a Layout for Your Hugo Theme Janne Kemppainen |

Last time we finally started creating our own theme and we were able to render something on the home page. We also created a template for the page head so that our pages will always contain the necessary metadata and information for social sharing. Next we’re going to create the basic layout for our page.

Create a Single Post Template in Hugo Janne Kemppainen |

In this post we will create a template for single blog posts on our Hugo blog. The end result will be a clean and simple page with support for a featured image. It will also show the author, an author image, publish date and the estimated reading time.

Hugo Single Page Templates Janne Kemppainen |

Now that our blog has a basic single post template it is time to move on to other content pages. In this post we will concentrate on pages such as About, Privacy Policy and Contact.

Even though the site itself is static it is possible to embed dynamic content from other sources. For example, the contact page will show you how to embed Google Forms as a contact form and a map showing your office location.

Implemement Hugo List and Taxonomy Pages Janne Kemppainen |

Until now we have concentrated on single pages such as blog posts or special pages. While we do already have a basic and functional list page for our blog it isn’t particularly pretty.

So in this post you will learn how to create a decent looking layout to display multiple blog posts on a single page.

Related Content in Hugo Janne Kemppainen |

You may have noticed that many blogs like to promote other posts at the end of an article. Hugo can do this too with its related content feature. This means that you don’t have to hand pick those related posts for each new piece of content you write but you can let Hugo do it for you automatically. If you scroll down to the bottom of the page you can see a live example on this very page.

Hugo Comments Janne Kemppainen |

Comments are an important part of communicating with your audience. This is where static pages struggle a bit as they are immutable by design. To add comments to a Hugo (or any other static) blog you need to resort to some third party solution. Personally I’m using ReplyBox but Disqus works with Hugo out of the box so it would be the easy way.

In this post I’ll show you how to add Disqus or ReplyBox to your site but I will also talk about other alternatives.

Custom Hugo Shortcodes Janne Kemppainen |

Even though you can add normal HTML markup to your Markdown files in Hugo it doesn’t always mean that you should. Complicated or reusable pieces of code should preferably be abstracted away from the content. Custom shortcodes can help with this issue as they let you define snippets that can be added to the page and configured with parameters.

In this series we haven’t created the home page yet so in this post we are finally going to create a simple one with the help of some custom shortcodes.

Publish Your Blog to Netlify Janne Kemppainen |

Now that our custom Hugo blog is more or less ready it’s time to make it public by publishing it online. In this post I will go through all the required steps. And the best part is that you only need to pay for the domain!

My Blogging Workflow with Hugo Janne Kemppainen |

Now that you should have your blog online here are some tips on getting started with the writing process. In this post I share how I manage the content in my blog.

Use Google Analytics to Show Popular Content on Your Static Blog Janne Kemppainen |

It is quite easy to recommend your most popular posts to your readers if you are running a WordPress site. What if you are using a static site generator such as Hugo instead? On this post you’ll learn how to add a popular posts section by using data from Google Analytics, and how to automate the whole process.

Get to the Correct Blogging Mindset Janne Kemppainen |

In this series of been talking about really technical topics.This is going to be a softer post where I’m going to talk about what is and what is not important when you are starting a brand new blog. I hope this post will inspire you to get going and keep going!

SASS Processing with Hugo Pipes Janne Kemppainen |

So far we have been using the CDN version of Bulma. However, this has the unfortunate property that we cannot really customize the colors and other parameters. We can solve this by using Hugo pipes to process the Bulma source code with the built-in SASS processor.

Schedule Netlify Builds with GitHub Actions Janne Kemppainen |

Would you like to be able to schedule the blog posts for your static site into the future but don’t want to use up all of your free Netlify build quota? In this post we’ll create a GitHub Actions workflow that triggers a site rebuild when a post has been scheduled to be published.

Add an RSS Feed to Your Hugo Blog Janne Kemppainen |

RSS might not be as fashionable as it was many years ago, but it’s still a great way to easily stay up to date with your favorite sites. If you have a Hugo site, you probably already have a working RSS feed. You just might not know about it!